Tuesday, April 29, 2025

Lion Rampant: the Convoy

 For today's game of Lion Rampant we played 'the Convoy' scenario. The dice decided that Ian's later Irish/Norse force would be escorting the 3 wagons diagonally across the board whilst Nigel and I would command the Norman's who were trying to capture the wagons. 

Fulcard, the Norman leader rides past my Viking turn counter on his way to the game. 
Fulcard turned out to be a total waste of time only getting to move twice in a game lasting 16 turns...yes, he really was that bad. 

Ian placed an elite heavy unit of vikings in charge of the wagons. These guys never failed an activation all game and kept those wagons moving. 

Fulcard with some of his men arrive on the battlefield. The normans had to place at least 4 points worth of troops in each of the three other corners that the Irish Norse force. On reflection, Nigel and I could have placed our troops in a much better way than we actually did.  

The start of the rot, a double one to activate the Norman spearmen to move, the first of 4 double '1's I scored during the activation phase of the game.

Over view of the mid-way part of the game. Spot the convoy top left, just off centre. The norman problem of struggling to activate has allowed the Irish Norse to march unchallenged halfway to their exit point. 

Over on the far left Nigel's Norman troops took on a few Irish Norse units left behind to slow us down. We just could not get our troops in place to stall his progress and a few turns later Ian gleefully marched the wagons off the exit point with hardly any shooting or melee having happened. The only consolation for the Normans was that we did manage to finally get into position to prevent any other Irish Norse troops leave the board. 

Ian made good use of his light cavalry throughout the game although we did manage to see them off with Nigel getting the Norman light cavalry to outmanoeuvre the Irish/Norse light cavalry.  
So it was an early finish today but we all enjoyed the game despite some frustrating dice throws at times. 


Tuesday, April 22, 2025

Lion Rampant, three player game of 'Meeting the Neighbours' scenario.

 Three of us enjoyed a game of Lion Rampant today. We played the 'Meeting the Neighbours' scenario; I used my usual Anglo Danes, Nigel used a Viking warband and Charlie bought his Italian themed Normans. As well as trying to exit the table through the other players deployment zone (to gain glory) I had positioned some villager and livestock bases in the village. Any player who 'collected ' one or more of these along the way and escorted them from the table gained an extra point of glory. However, straight from turn 1 the villager bases would scatter and move d6 inches in a random direction unless captured. 

As we hadn't played Lion Rampant for a while we got a some aspects of the rules wrong in the first few turns. However, from turn 3 all seemed good and the game speeded up. 

Viking Leader, Eric the Red (aka Nigel). 
Nigel played a canny game, sheltering some of his units in the central field, with his archers covering Charlies Norman escape zone. He was also very lucky as three out of the five livestock bases seemed to randomly blunder into his possession. Before the end of the game he captured another livestock base from Charlie. 

Some of Charlie's Norman cavalry. His light cavalry escaped off the board quite quickly but were down to half strength having been shot at by the Vikings. Tancred, the Norman commander spent about three turns refusing to move leaving the units in the photo to do all the work. 

Vikings hold a strong position but holding that position kept Nigel's troops in the centre. 

My Anglo Danish force took up a strong position across a line of hills. From there I carefully ventured forwards encountering Normans on my left and Vikings on my right. 

Charlie sent some heavy cavalry charging through the village but they literally got 'battered' by Nigels Vikings. Elsewhere the Vikings also snatched a livestock base from some Norman light infantry. 

Here the defeated Normans withdraw from the combat. 

My Anglo Danes charged into some Vikings and not only beat them in melee but captured some livestock from them. Over on my right, after a gamelong struggle I finally cleared a path to my table exit zone.  
Having finally got his Elite Cavalry led by Tancred himself moving, Charlie managed to get that unit off the board to earn more glory. Sadly the rest of his force was by now either battered or destroyed. Eric the Red, the Viking leader offered his Anglo Danish rival, Wulfgar the Slayer a truce, allowing both sides to withdraw quite a few units. With the Vikings having most of the livestock allowed Nigel to claim the victory. 
Final scores were Nigel 10 glory, myself 8 glory and Charlie on 3 glory. 
Having now got the rules sorted in our (old and shrinking) minds we aim to play again next week. 


Tuesday, April 15, 2025

15mm GdA 2, Somewhere in Europe.

 Nigel was hosting today and he had devised a cracking scenario based on a Peninsula battle (I think). As we were using French, British and Prussians we decided it was based 'somewhere in Europe'. The British and Prussians were defending a river crossing tucked in behind two small redoubts (stone walls in our game) with the aim of preventing the French getting across the river and gaining possession of the redoubts.  

Nigel and Charlie were the French, I was British and Ian was the Prussians. 

Deployment, French on the west side of the river, the Allies on the right. 
Both sides were promised reserve brigades, but they were all down to a dice throw. 

The redoubts are the angular wall on the right and the enclosed village/houses on the left. 

Ian's Prussian cavalry got caught in the open and went for it, destroying a whole French battery; thanks mainly due to Charlie's combat throw of a double 1!

I marched some men over the bridge. 
(A few turns later I marched them back again). 

The Prussian reserves arrive. Ian starts to line his men up along the river to meet the French advance. 

It was getting very crowded around the village and it's redoubt. 
Charlie and his French captured this just at the end of the game. 

The French at the top of the photo were delayed in getting over the bridge to the east as they kept failing their command throw. Ian was still busy lining up some stiff resistance. 

A view down the table showing how busy it was all getting as the French reinforcements had also arrived by now. 

My British infantry unit opted to withdraw back over the bridge followed by a Prussian unit with some French Light Infantry hot on their heels. 

This photo was taken just as Charlie sent in a French Infantry battalion and took the village redoubt. That was the last action of the game as once more we ran out of time. 
Nigel and I had both played a holding action on our left hand side so no real progress was made there. Charlie's assault on the village and river crossing had been delayed by the late arrival of his reserve but he was just starting to make headway as the game came to an end. However, Ian had lined up a warm reception for him so not sure how that would have gone. 
Best call this game an honourable draw. 


Tuesday, April 8, 2025

15mm Napoleonic Peninsular War using GdA 2.

 Ian created a Peninsula scenario for our game today. Charlie was commanding the French holding a river with some pickets trying to destroy the one bridge. I was in charge of the British with a few Spanish allies trying to get across the river and Ian opted to just umpire the game. 

French deployment. 

British deployment.

Charlie deployed his artillery to the right of his infantry and straight from turn 1 they were inflicting heavy casualties on my troops. On 2xd6 in the first turn of firing he threw a '12' and so it continued all game. 

I tried to rush my artillery forward but look how much damage they accrued trying to get into position. Once Charlie made my artillery run off he started picking on my infantry next. 

Turn 3 and the British second brigade of infantry turn up and managed to advance quite quickly. That was about the only useful thing they did.  

View from the French lines. Charlie was wisely deployed right up to the rivers edge and this made any attempt to cross by the British very difficult.  
My scouts managed to discover that the river bed was actually dry. However, once I reached the river my troops were 'unformed' for trying to cross rough ground and were easily repulsed by the French. 


On my left flank I had a brigade of two small Spanish cavalry units that arrived on turn 5. Once more my units were 'unformed' as they tried to cross the river and engage the large French unit of Cavalry. 

Looking down the British line on the right, the number of casualty markers and yellow 'worn' tokens show what a mess my attempt to cross the river was in. Making zero progress in crossing the river I conceded the game to Charlie and withdrew my troops.  

Charlie had deployed his defending troops wisely and his artillery battery was on top form. Losing my own artillery before they could really get into action was a blow and allowed Charlie to target my infantry and cavalry without reply. 
Well played Charlie and thanks to Ian for organising such a good game. 


Thursday, April 3, 2025

Attack on Jomstead, Orcs and Goblins clash playing Warlords of Erehwon.

 Attack on Jomstead

A day of pure gaming pleasure today. Friend Chris and his nasty Orcs came up for a game of 'Warlords of Erehwon'. His Orcs were facing my goblins again in a glorious old school figure fest. Very few of the figures on the table were around before the year 2000. It was 899 points per side. 

Being the host I created the scenario which was as thus...

Kruk the Destroyer looked down on the green fields below. All looked calm. His scouts had told him of the easy target for loot at the remote settlement of Jomstead. As Kruk formed his plan, (mainly suggested of course by Gurk his mage and chief advisor). Gurk suddenly called out “Boss look, it’s them damned Orcs again”

Kruk snarled in response, “ Get those sparkly spells of yours ready Gurk, it’s time to grab some loot and sort out those pesky Orcs of the Severed Hand once and for all”. 

As Kruk glanced across to the far side of the valley he could see the Orc Leader Hasgar Sheol pointing up at him and his goblin horde, was the rancid orc actually laughing at him???

Kruk roared in anger, “ Come on lads, we have work to do”!


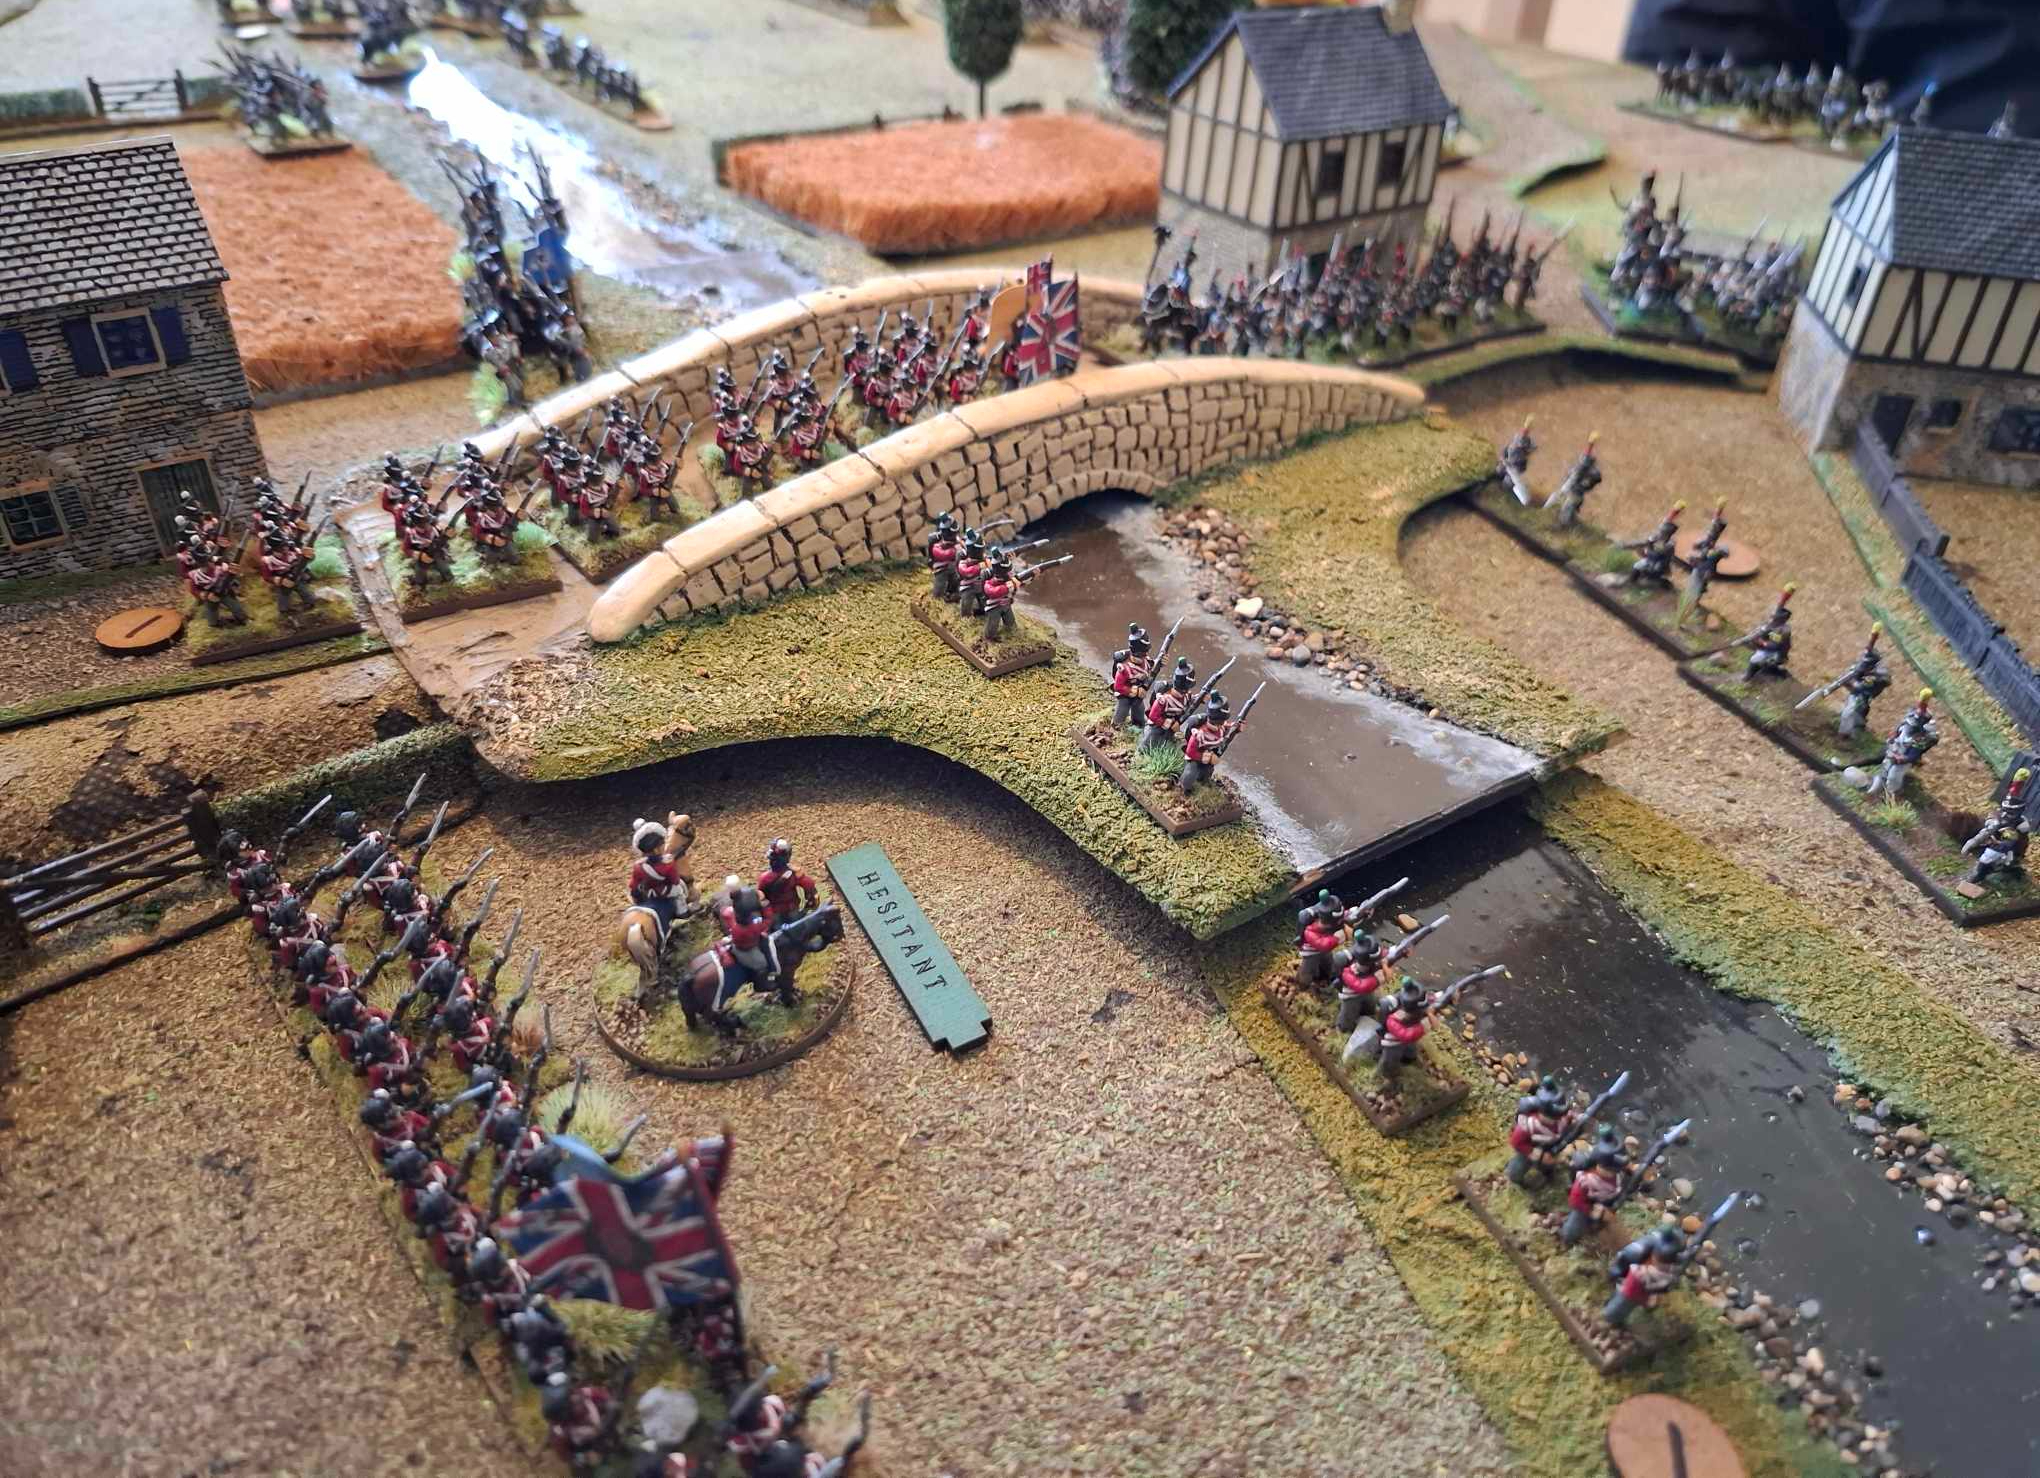
Set Up: Jomstead is a small farm of a couple of huts and a field or two, centrally placed on the table. Each player throws a d6, the score determines which table section they will be allowed to deploy in, upto 12” in. 

Players will need to roll randomly to decide who is nominally the attacker or the defender. Highest throw choose’s. The attacker gets to choose whether to deploy along the northern or the southern edge. 


Deployment: Each long table edge is divided into 3 equal sections, numbered 1,2 on the western edge, 3,4 in the centre section and 5,6 by the eastern flank. 

Each player throws a d6, the score determines which table section they will be allowed to deploy in, up to 12” in. (see map).


Objective: the objective is for both sides to acquire loot from raiding Jomstead (and hopefully Victory Points too) and if they can kill the enemy leader so much the better.  

Game Duration: the game lasts until one side reaches its Break value or until 6 turns have passed. At the end of turn 6 roll to see if a seventh final turn is played. 


Victory: the side that acquires the most Loot and Victory points is deemed the winner. To claim loot, any one unit or character from a force must spend one turn stationary next to  any of the buildings in Jomstead. 


Jomstead Farm is home to Jom the farmer and his son Osbet. If looting Jomstead throw once on the Loot Chart for each building looted. Jom and Osbert are trying to flee with some of their livestock. At the start of the game (and each other turn) throw a d6 +5” and also throw a random direction dice. This is how many inches that Jom and Osbert have fled from the centre of their farm. Jom and Osbert have a base of livestock or a wagon each. Any player that moves a unit or character into contact with one of these bases also throws 1xd6 on the Loot Chart and places the livestock base at the rear of their unit. 

Note: Loot can be swapped about amongst friendly units by simply having the units move into contact. Loot can also be stolen by an enemy unit that defeats any unit holding loot. 


Players can also gain Victory Points by causing the death of the opposing leader. If either Kruk the Destroyer or Hagor Sheol are killed the opposing player earns an extra 3 VP. If Kruk or Sheol actually deal their foe the actual final death blow they will earn an extra 5 VP. 


Special Scenario rules: Loot: when a player loots a building or wagon, throw a d6 on the Loot Chart below to find out how much loot they have collected. 


D6 score…

Loot

1-3

1 loot

4-5

2 loot

6

3 loot


Jom and Osbet, having spotted the Orcs and Goblins round up their livestock and possessions and are ready to flee. 

With dice having decided that the Orcs were to be classed as the attackers we started pulling order dice out of the bag for deployment. 
Hasgar Sheol deploying his troops. 

Deployment, orcs on the bottom left, goblins right centre. This random deployment left the goblins a bit closer to the village which proved to be an advantage. 
Jom and his son started to run off. I think we were so worried about what each other was doing we left them to it until it was too late and neither were caught. . 

Moves from turn 1, note the two units of gobbledogs near the village,(mine look like wolves) about to get into melee. 

The orcs try to sneak some archers round the goblin flank. 
Note the runic stone fantasy scenery that Chris has made and gifted to me today, thank you my friend. 

The goblin gobbledogs made short work of the orc ones, leaving just their dying leader, Grasak Kar who made a lovely snack for my gobbledogs.  

Turn two saw some goblin warriors enter Jomstead and start grabbing some loot. 
The goblin dervishes by the tree proved to be very effective, destroying two orc units including their Shaman which was a very good thing as we were wary of his 'Fiery Balls' 
I thought I had taken more photo's but I must have got too interested in the game. 

Gurk the goblin shaman finally got round to casting his 'Timidity' spell during turn 3. He badly affected 3 orc units making it difficult for Chris to activate them with the number of pins they had now suffered. 
A second goblin warrior unit looted the other building and both goblin units with loot started to withdraw. 
Trying to force his way back into the game the Orc leader Hasgar led his unit into battle only to be defeated and he ran off with the few remaining warriors of his bodyguard.  
Kruk was charged by a large unit of Orc warriors but he and his (newly painted) bodyguard defeated the orcs in melee but only Kruk was left alive. 
By this point things were looking bad for the orcs. Chris charged another orc warrior unit into  the goblin archers on the edge of the wood. Amazingly, the goblins even won this melee by just one point and the orcs failed their break test. I certainly got the best of the dice throwing today. 
With the orc horde now down to half and even some of them running off a victory to the goblins was declared. They had earned 4 victory points and the orcs 0. 

We both really enjoyed this game and feel we are getting a clearer understanding of the rules. The dervishes performed very well and Gurk's 'Aura of Timidity' spell was cast at just the right time. Good dice throwing when casting the spell made it very effective. Kruk certainly enjoyed watching Hasgar Sheol run away. What a great way to spend a day. 

I have a sneaky feeling that Chris will also be writing a blog, proving perhaps that history is not always written by the victor. 

After the battle Kruk was seen giving this guy some of his loot. 

"Ere" said Kruk, "what is that mad stuff you give the dervishes Gurk?"
"Oh, that is some powerful stuff" answered Gurk, "why?"
"I just put some in your tea" answered Kruk. 


Tuesday, April 1, 2025

Capture the Bridge: 15mm General D'Armee v2.

 Nigel very kindly hosted us today for a 15mm game of General D'Armee. The scenario was kept small with a simple objective of capture the bridge for both sides. I was using my British with Ian as my Prussian allies, meaning that Nigel was in control of the French. Deployment was simple with no side out scouting the other. 

There were two fords so I sent my cavalry off across the ford to threaten the French cavalry and their horse artillery support. 

The French cavalry and artillery waiting for me. 

Crossing the ford slowed my cavalry advance. 

The view down the table from our Prussian flank. The Prussians (on the right) were to try and prevent any French advance on that side. Ian boldly sent his Infantry across the river and took the battle to the French. 

Ian sending his Prussians forward; sadly he deployed his artillery support badly and failed to get much use out of them all game. However, his advance across the river really tied the French up on that flank. 

Nigel charged his cavalry into my  British Heavy Dragoons just after they got across the river. The dice were with the British as we defeated the French heavies and spent the next few turns out fighting all of his cavalry brigade. 

British cavalry pursuing the retreating French.

The British cavalry pursued the French right across the board, effectively destroying their cavalry. 

In the centre the British Line Infantry got onto the bridge first and managed to hold off two French attacks. The second French assault had come in the very last turn of the game, and with the French centre foot Brigade now wavering and pulling back gave the victory to the British and their Prussian allies. 

Over on the Prussian flank, they suffered many casualties and really could have done with their artillery support. However, Ian had completely stalled the French advance there allowing the British to secure the bridge. 
Another fun game but as always we managed to come up with new situations where we had to stall the game whilst we checked how to work various situations out correctly. We certainly got aspects of the British v French cavalry melee wrong but we also then learned how to do it correctly. We play again next week but in the Peninsula rather than in France. 


Lion Rampant: the Convoy

 For today's game of Lion Rampant we played 'the Convoy' scenario. The dice decided that Ian's later Irish/Norse force would...